Concrete driveways serve as the introduction to our homes, witnessing daily wear, tire marks, oil drips, and weather challenges. Over time, they can begin to look drab and worn. But what if you could infuse new life into that old driveway with just a splash of color? That's right; you can paint your concrete driveway, giving it a refreshed and revitalized look. However, painting a concrete driveway isn't as straightforward as rolling out a rug. It requires preparation, the right materials, and technique. Let's guide you through the process.
Preparation Is Key
Every successful painting job begins with meticulous preparation. For a paint concrete driveway project, this is doubly important.
- Cleaning: Begin with a thorough cleaning. Remove any debris, leaves, or dirt. You can use a pressure washer for the best results. If there are any oil stains, make sure to clean them with a degreaser.
- Repairing: Before you apply paint, ensure that all cracks or holes are properly filled using a concrete patch solution. Smooth out the solution and allow it to dry.
Choosing The Right Paint (Paint Concrete Driveway)
Not every paint is suitable for concrete, especially for high-traffic areas like driveways. Here's what you need to know:
- Epoxy-based Paints: These paints are durable, resistant to chipping, and can withstand the daily wear and tear a driveway is subjected to.
- Concrete Stain: Not precisely a paint, a stain will give a translucent finish, letting the unique characteristics of your concrete show through while offering a touch of color.
- Concrete Sealer: After painting, seal the deal with a concrete sealer. This will add an extra layer of protection to your paint job.
Applying The Paint
Once your driveway is clean and repaired, and you have the right paint on hand, you're set to start the painting process:
- Priming: Start with a concrete primer. It ensures better adhesion of the paint to the surface.
- Painting: Using a roller or brush, apply the paint in thin layers. It’s always better to apply multiple thin coats than a single thick one. Let each layer dry before applying the next.
- Sealing: As mentioned, a sealer will protect your paint job. Ensure the paint is completely dry before you apply the sealer.
https://www.youtube.com/watch?v=x2uACuEGD4k
Pitfalls: The Issue With Salt
While your freshly painted driveway may look fantastic, there's a hidden danger lurking in the winter months: salt. Many homeowners throw down salt to combat icy conditions, but it has its drawbacks:
- Erosion: Salt can accelerate the erosion process, causing your beautiful paint job to deteriorate rapidly.
- Discoloration: Salt can lead to discoloration, especially evident on a painted surface.
- Surface Damage: Salt can instigate a freeze-thaw process which can lead to scaling and spalling, both of which can ruin your paint job.
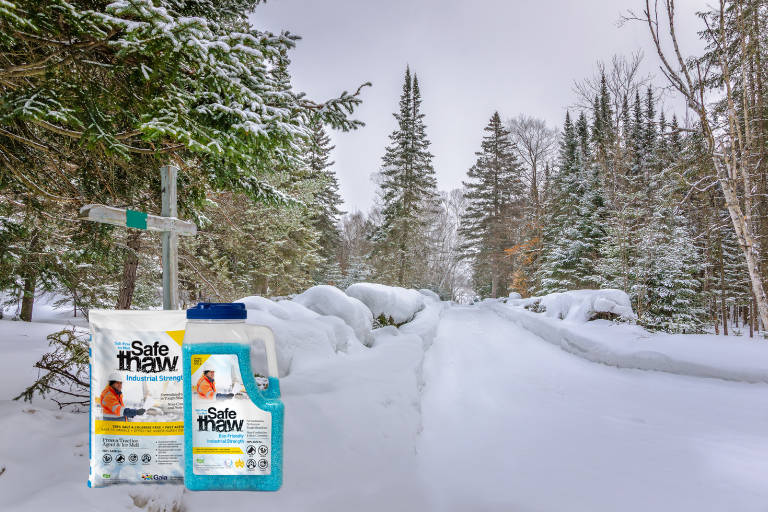
Instead of salt, consider using a product like Safe Thaw. It's a granular ice melt, chemical and toxin-free, ensuring that ice is kept at bay without causing harm to your painted driveway.
Conclusion
A freshly painted driveway can boost the curb appeal of your home, making it welcoming and appealing. However, to ensure the paint lasts and looks vibrant for years, it's crucial to follow the right steps from preparation to sealing. And when winter rolls around, treat your driveway with care by opting for a product like Safe Thaw, which offers all the benefits without the harmful effects of salt. With these tips in mind, you're all set to transform your driveway from drab to fab!
https://safethaw.com/?p=5168


Comments
Post a Comment